linux centos7 安装elasticsearch
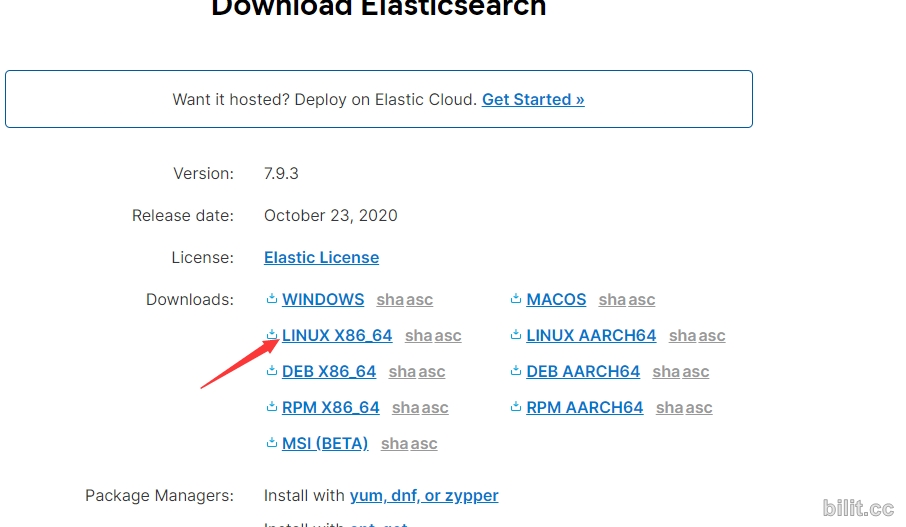
下载es
https://www.elastic.co/cn/downloads/elasticsearch
wget https://artifacts.elastic.co/downloads/elasticsearch/elasticsearch-7.9.3-linux-x86_64.tar.gz
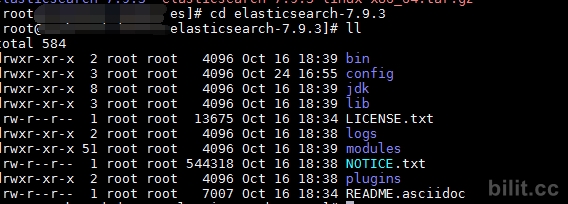
解压
tar zxf elasticsearch-7.9.3-linux-x86_64.tar.gz
启动
进入主目录
启动elasticsearch,执行 ./bin/elasticsearch -d (-d 让服务后台运行)
报错了,嘶~,搜索大法
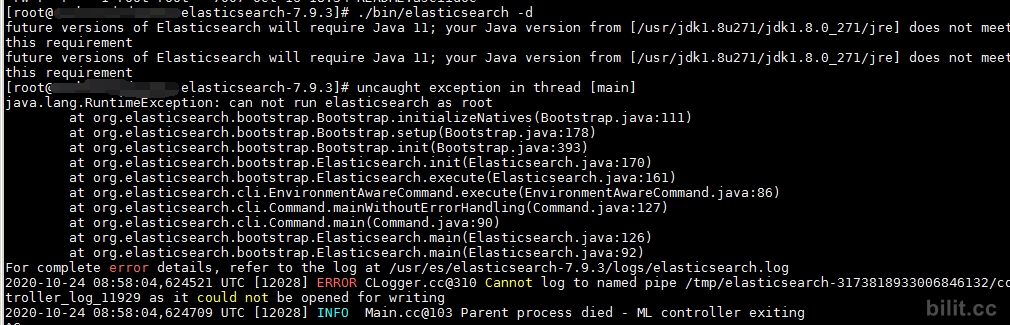
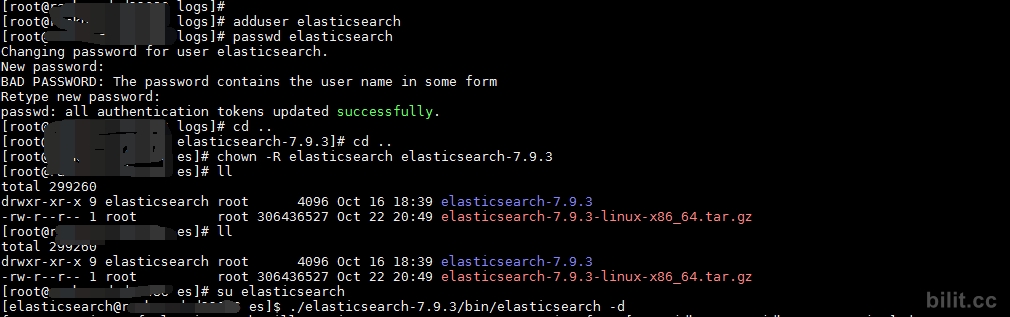
不能用root用户运行,新建elasticsearch用户吧
新增用户adduser elasticsearch
用户密码passwd elasticsearch
改变归属chown -R elasticsearch elasticsearch-7.9.3
切换用户su elasticsearch
执行启动./bin/elasticsearch -d
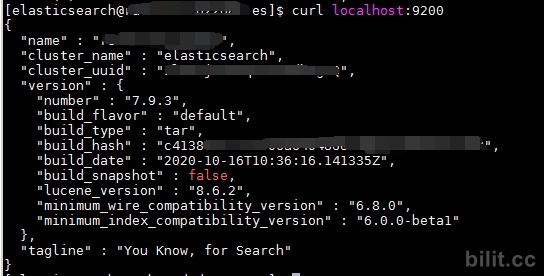
验证启动:curl localhost:9200 返回如下图的json即为成功。
继续外网访问下:
打不开,centos7 防火墙设置:
查看防火墙所有开放的端口
firewall-cmd –zone=public –list-ports
开放端口
firewall-cmd –zone=public –add-port=9200/tcp –permanent # 开放9200端口
firewall-cmd –zone=public –remove-port=9200/tcp –permanent #关闭9200端口
firewall-cmd –reload # 配置立即生效
另附:
关闭防火墙
如果要开放的端口太多,嫌麻烦,可以关闭防火墙,安全性自行评估
systemctl stop firewalld.service
查看防火墙状态
firewall-cmd –state
还是不能访问。。嘶~
继续搜索大法,可能是缺了个配置。
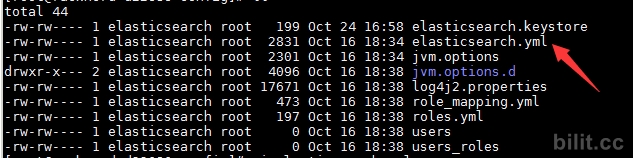
修改elasticsearch.yml文件,添加
network.host: 0.0.0.0
再次启动,继续解决新的报错
启动报错:

[1]: max file descriptors [4096] for elasticsearch process is too low, increase to at least [65535]
解决方案:
vim /etc/security/limits.conf文件,添加以以下两行即可解决
* soft nofile 65535
* hard nofile 65535
[2]: max number of threads [3818] for user [admin] is too low, increase to at least [4096]
解决方案:
vim /etc/security/limits.conf文件,添加以下两行即可解决
* soft nproc  4096
* hard nproc  4096
异常日志3
[3]: max virtual memory areas vm.max_map_count [65530] is too low, increase to at least [262144]
解决方案:
vim /etc/sysctl.conf 文件,添加以下一行即可解决,注意,这里配置完之后需要重启一下linux,否则不一定起效果
vm.max_map_count=262144
错误日志4
[4]: the default discovery settings are unsuitable for production use; at least one of [discovery.seed_hosts, discovery.seed_providers, cluster.initial_master_nodes] must be configured
解决方案:
vim /usr/local/elasticsearch/elasticsearch-7.0.0/config/elasticsearch.yml 文件,添加一下行即可解决
cluster.initial_master_nodes: ["node-1"]重启linux服务器。
启动elasticsearch。
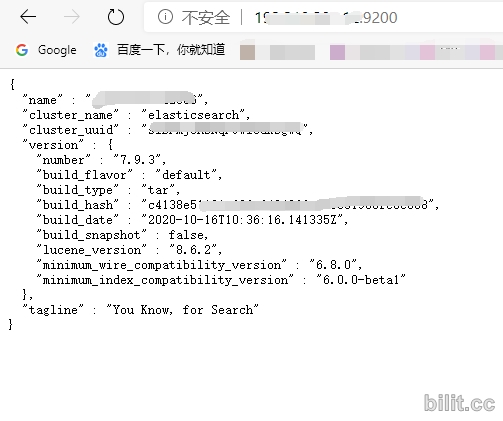
访问 ip:9200, OK!

发表评论